Complete Guide to Capitol Reef National Park and Bentonite Hills
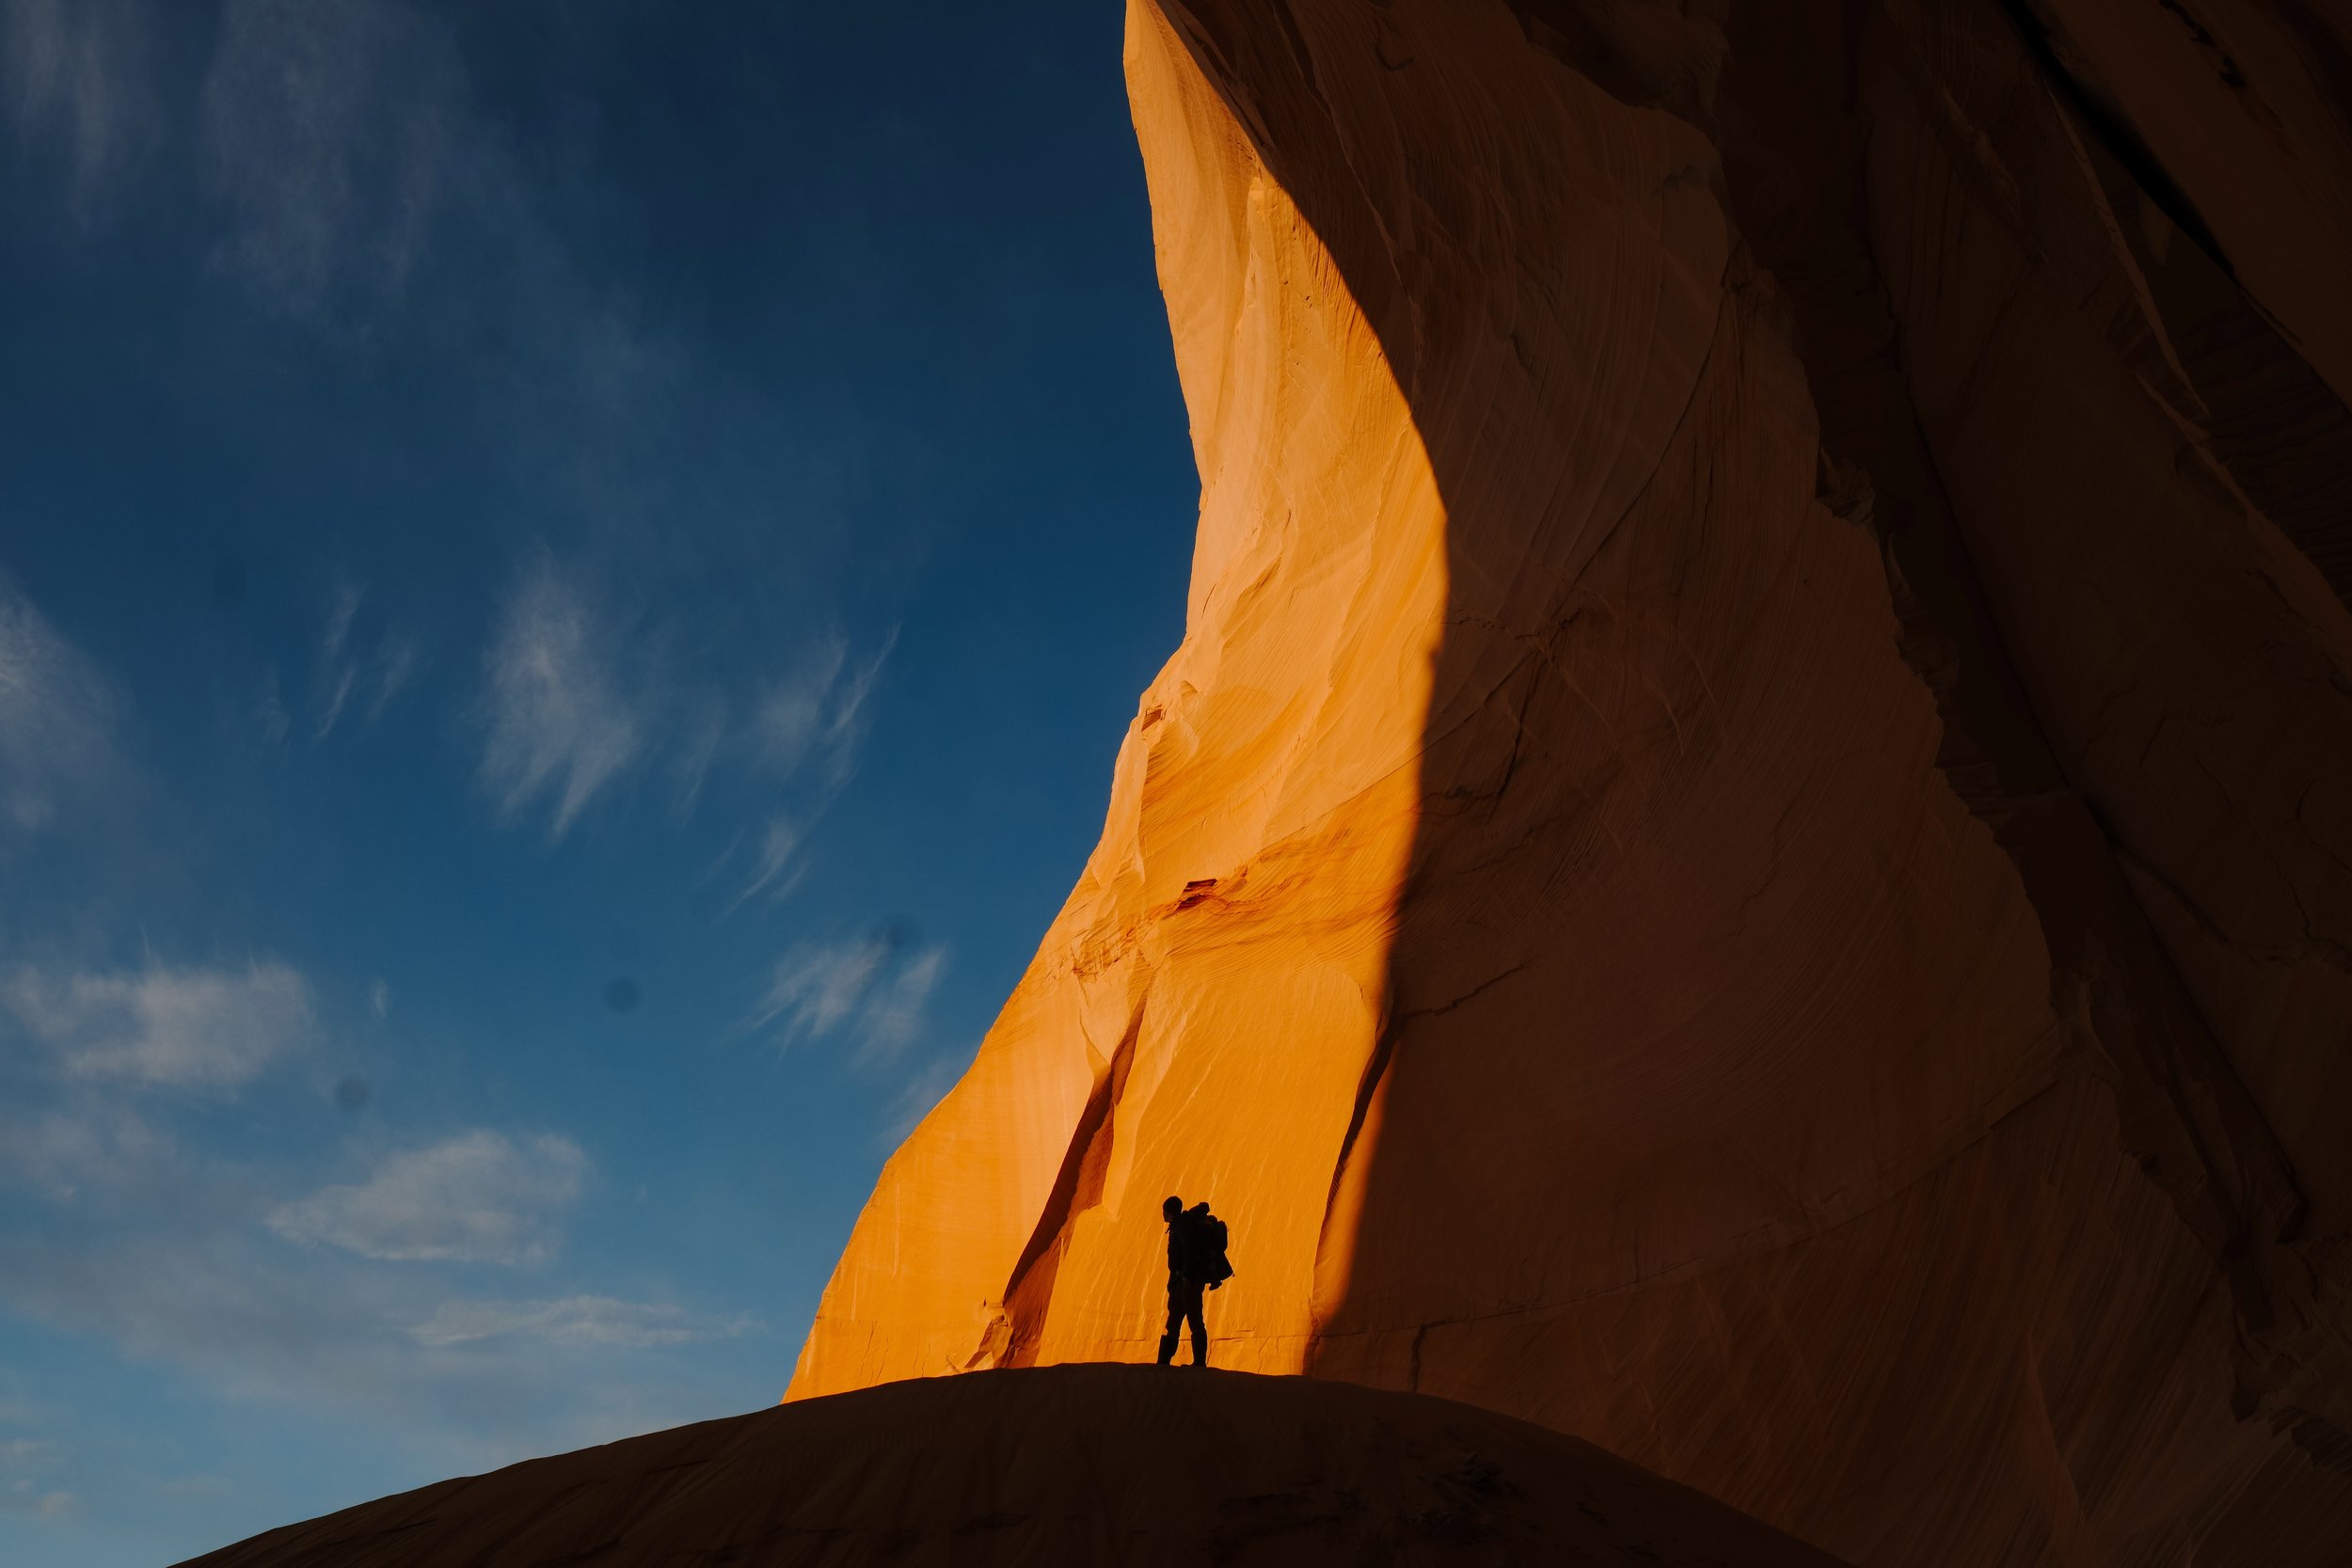
Natural Bridge Trail, Capitol Reef National Park
Capitol Reef National Park: Scenic Views & Short Hikes
After leaving Meadow Hot Springs (see our last blog for more), we tried to escape the relentless wind by heading east into the mountain pass. Once we got into Capitol Reef National Park, we finally found a brief reprieve from the gusts, and it felt like a breath of fresh air.
This was our second time visiting the park, and I have to say, I highly recommend driving it from west to east (from Torrey toward Bentonite Hills). The views in front of you are absolutely stunning the entire way. It’s one of those drives where you find yourself constantly in awe of the scenery. After we got into the park we made a quick stop at one of our favourite spots, Panorama Point, to snap some quick photos and stretch our legs.
If you get the chance, this spot is amazing for sunset! We’ve yet to take the 4x4 dirt road visible from Panorama Point (we’d definitely have to unhook the trailer), but it’s high on our list for a future trip!
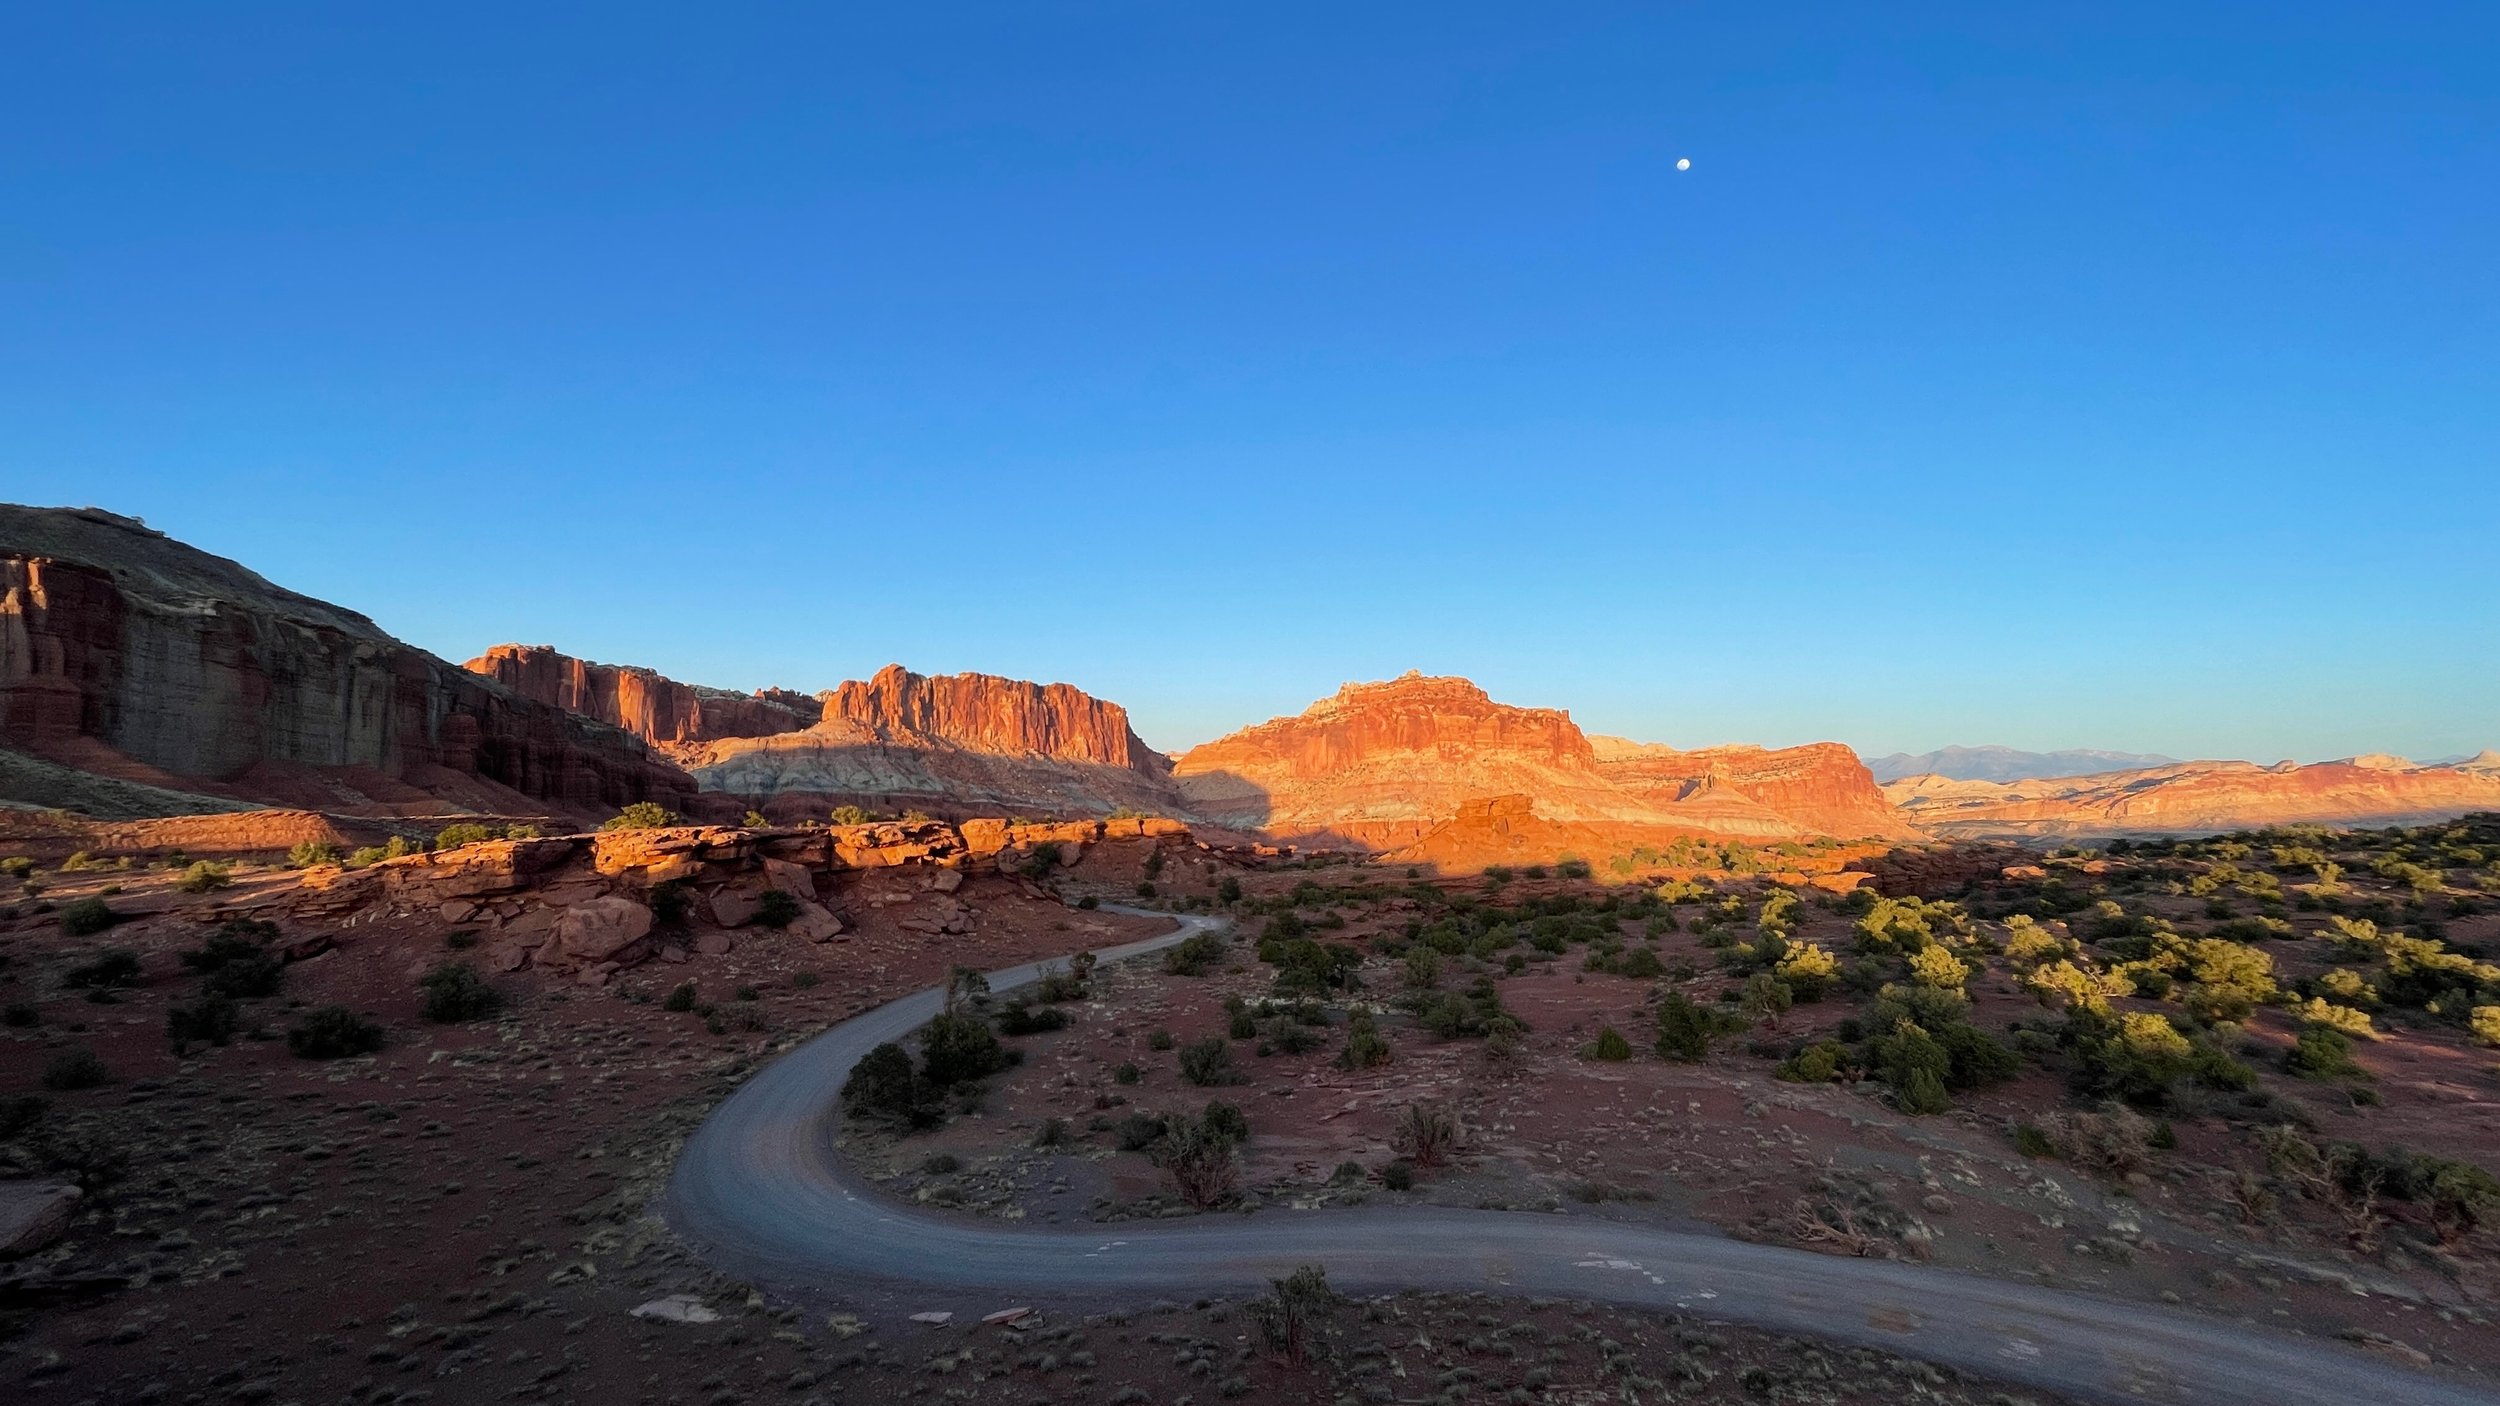
Sunset at Panorama Point, Capitol Reef National Park
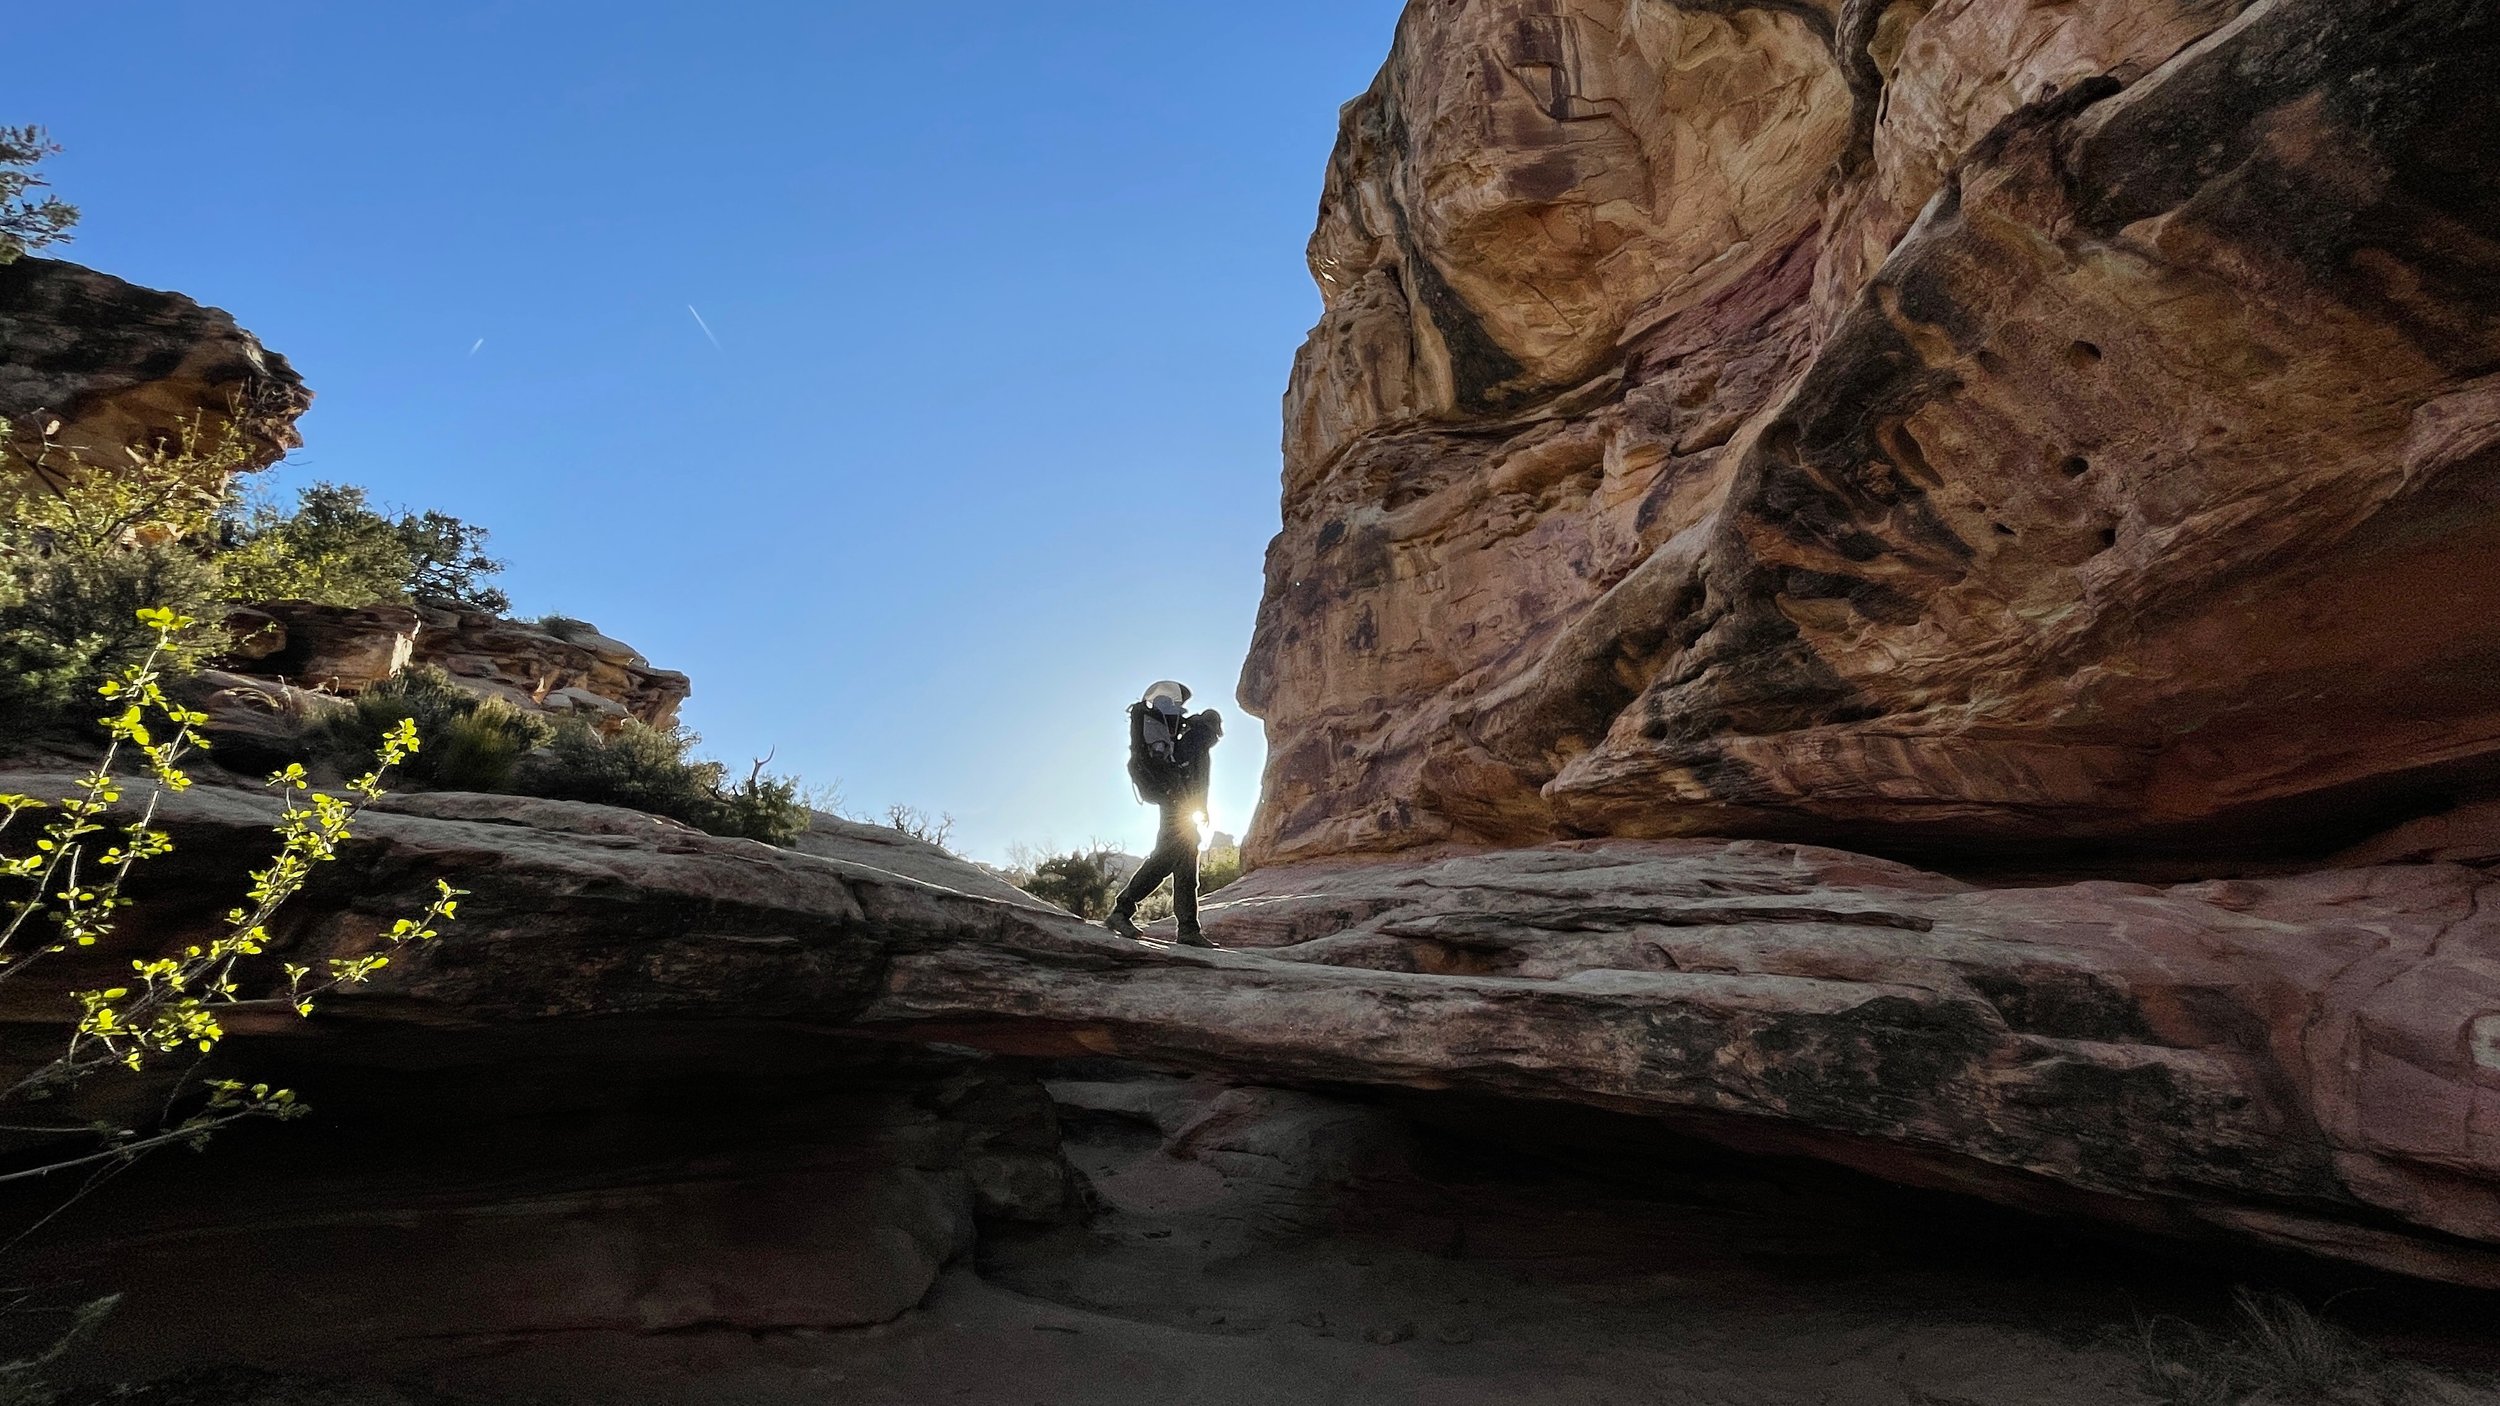
Hiking to Hickman Natural Bridge
After stretching our legs, we set out for the Natural Bridge Trail, a great option for those looking for a relatively short, rewarding hike with stunning scenery. The trail is about 1.4kms one-way, making it an easy hike, but the views and short side-quests along the way are what really set it apart.

Hickman Natural Bridge, Capitol Reef National Park
🥾 Hike to Hickman Bridge
Distance: 2..8 kms round-trip
Elevation Gain: 122 meters
Difficulty: Moderate
Duration: 1 hour
Highlights: The natural white rock bridge and surrounding rock formations.

Natural Bridge Trail, Capitol Reed National Park
This trail takes you to a natural white rock bridge formation, with tons of cool rock formations along the way. The hike itself is pretty mellow, with just a small elevation gain, but it’s still an excellent opportunity to get out. Definitely worth the stop if you’re in the area!

Factory Butte, Utah
Factory Butte
Shortly after leaving Capitol Reef National Park, we hit another round of extreme wind. Our plan was to camp at Factory Butte and hike to the Moonscape Overlook for sunset, but the wind had other plans.
🚗 We pulled over at Factory Butte for a quick look but quickly realized that setting up camp was not an option. The gusts were too intense, so we made a last-minute change and drove to Hanksville regroup and figure out our next move instead.

Factory Butte, Utah

Bentonite Hills, Utah
Bentonite Hills & The Mars Desert Research Station
Determined not to let the wind completely derail us, we decided to check out Bentonite Hills before heading out. We unhooked the trailer at a gas station in town and headed for the hills (literally).
If you’re planning to visit Bentonite Hills, here’s how:
📍 How to Get There:
Take Highway 24 east of Hanksville
Turn onto Cow Dung Road (yes, that’s the actual name)
Follow the dirt road for a few miles until you reach the Mars Desert Research Station
The hills are just a short drive from the station, eventually you will come to a clearing - park here!
Mars Desert Research Station, Utah
We couldn’t believe we missed this spot last time we were in the area—we literally drove right through and had no idea! Bentonite Hills is super cool, and even though the wind was relentless, we still managed to hike up a few hills and check out the scenery.
I would love to spend more time here next time (when it’s not so windy!) and fly the drone to capture the views. The hills themselves are mesmerizing, and the shifting colours make for some fantastic photo opportunities.
Tips for shooting in this area:
Early morning or golden hour light will give you the best shot at catching the colours of the hills.
The wind can kick up a lot of dust, so keep your lens clean and use a polarizer to help with glare.
If you have a drone, the rolling hills and desert landscape are perfect for aerial shots—just make sure the wind isn’t too crazy!

Bentonite Hills, Utah — We managed to get these shots even without the drone just from hiking on staggered cliffs.

Sunrise from Mesa Arch, Canyonlands National Park
Canyonlands National Park:
After our wind-swept adventures, we decided to press on towards Moab, hoping the conditions would be better. We ended up camping at Island in the Sky Campground in Canyonlands National Park that night. The campground is FCFS so we were lucky to find a last minute spot, thankfully for the wind and sub-optimal weather it was fairly quiet there for April. The campground provided much-needed shelter from the gusts, and it felt like a bit of a reprieve after the chaos of the day.
This was, hands down, one of the craziest drives we’ve ever done. Hauling a trailer in extreme wind is no joke! The winds howled all day, and when we drove into Canyonlands at night, things got even more intense. Driving in the dark, we almost hit a cow! So, if you’re driving these remote roads, definitely keep an eye out for livestock. It’s always a good idea to drive with caution, especially at night in unfamiliar areas.

Canyonlands National Park
Despite the crazy winds, Bentonite Hills and Canyonlands were definitely highlights of this trip. We’re already planning a return, with hopes of more time in Bentonite Hills and maybe tackling that 4x4 road we keep eyeing from Panorama Point in Capitol Reef.
As for the wind, we’ve learned that Utah can be windy (to say the least!), but we’ve come to love its rugged beauty, no matter the weather. From Canyonlands, we headed further east toward Moab for the next leg of our journey.
Interested in the Ultimate Utah Road Trip?
Check out our complete Utah Guide and get ready for the trip of a lifetime!