

Layering 101: Baby/Toddler Edition
Over the last 3 years we’ve gone on nearly 300 hikes with our now 3 year old daughter, ranging from 5 KM treks on our local trails to 20+ KMs into the backcountry in a single day. We’ve hiked all over North America from the Canadian Rocky Mountains all the way to the depths of the Grand Canyon and the hottest place on earth, Death Valley. Over this time we’ve had A LOT of learning experiences and really taken the time to dial our gear.
That being said, the main thing we’ve learned is, keeping your little one comfortable is essential to ensure the experience is enjoyable for everyone. Being comfortable starts with how you’re dressed on the trail. After some trial and error, we always use the 3 layer rule. Layering ensures you can adjust how warm or cool your little one is depending on the whether.


A couple things to keep in mind before we jump in.
If you are using a chest carrier your baby will absorb your body heat (and sweat) and may require multiple changes of clothes. Especially if you plan to stop at the summit and enjoy lunch or take in the views where it is typically cooler. You’ll want to ensure you have at least one dry change of clothes.
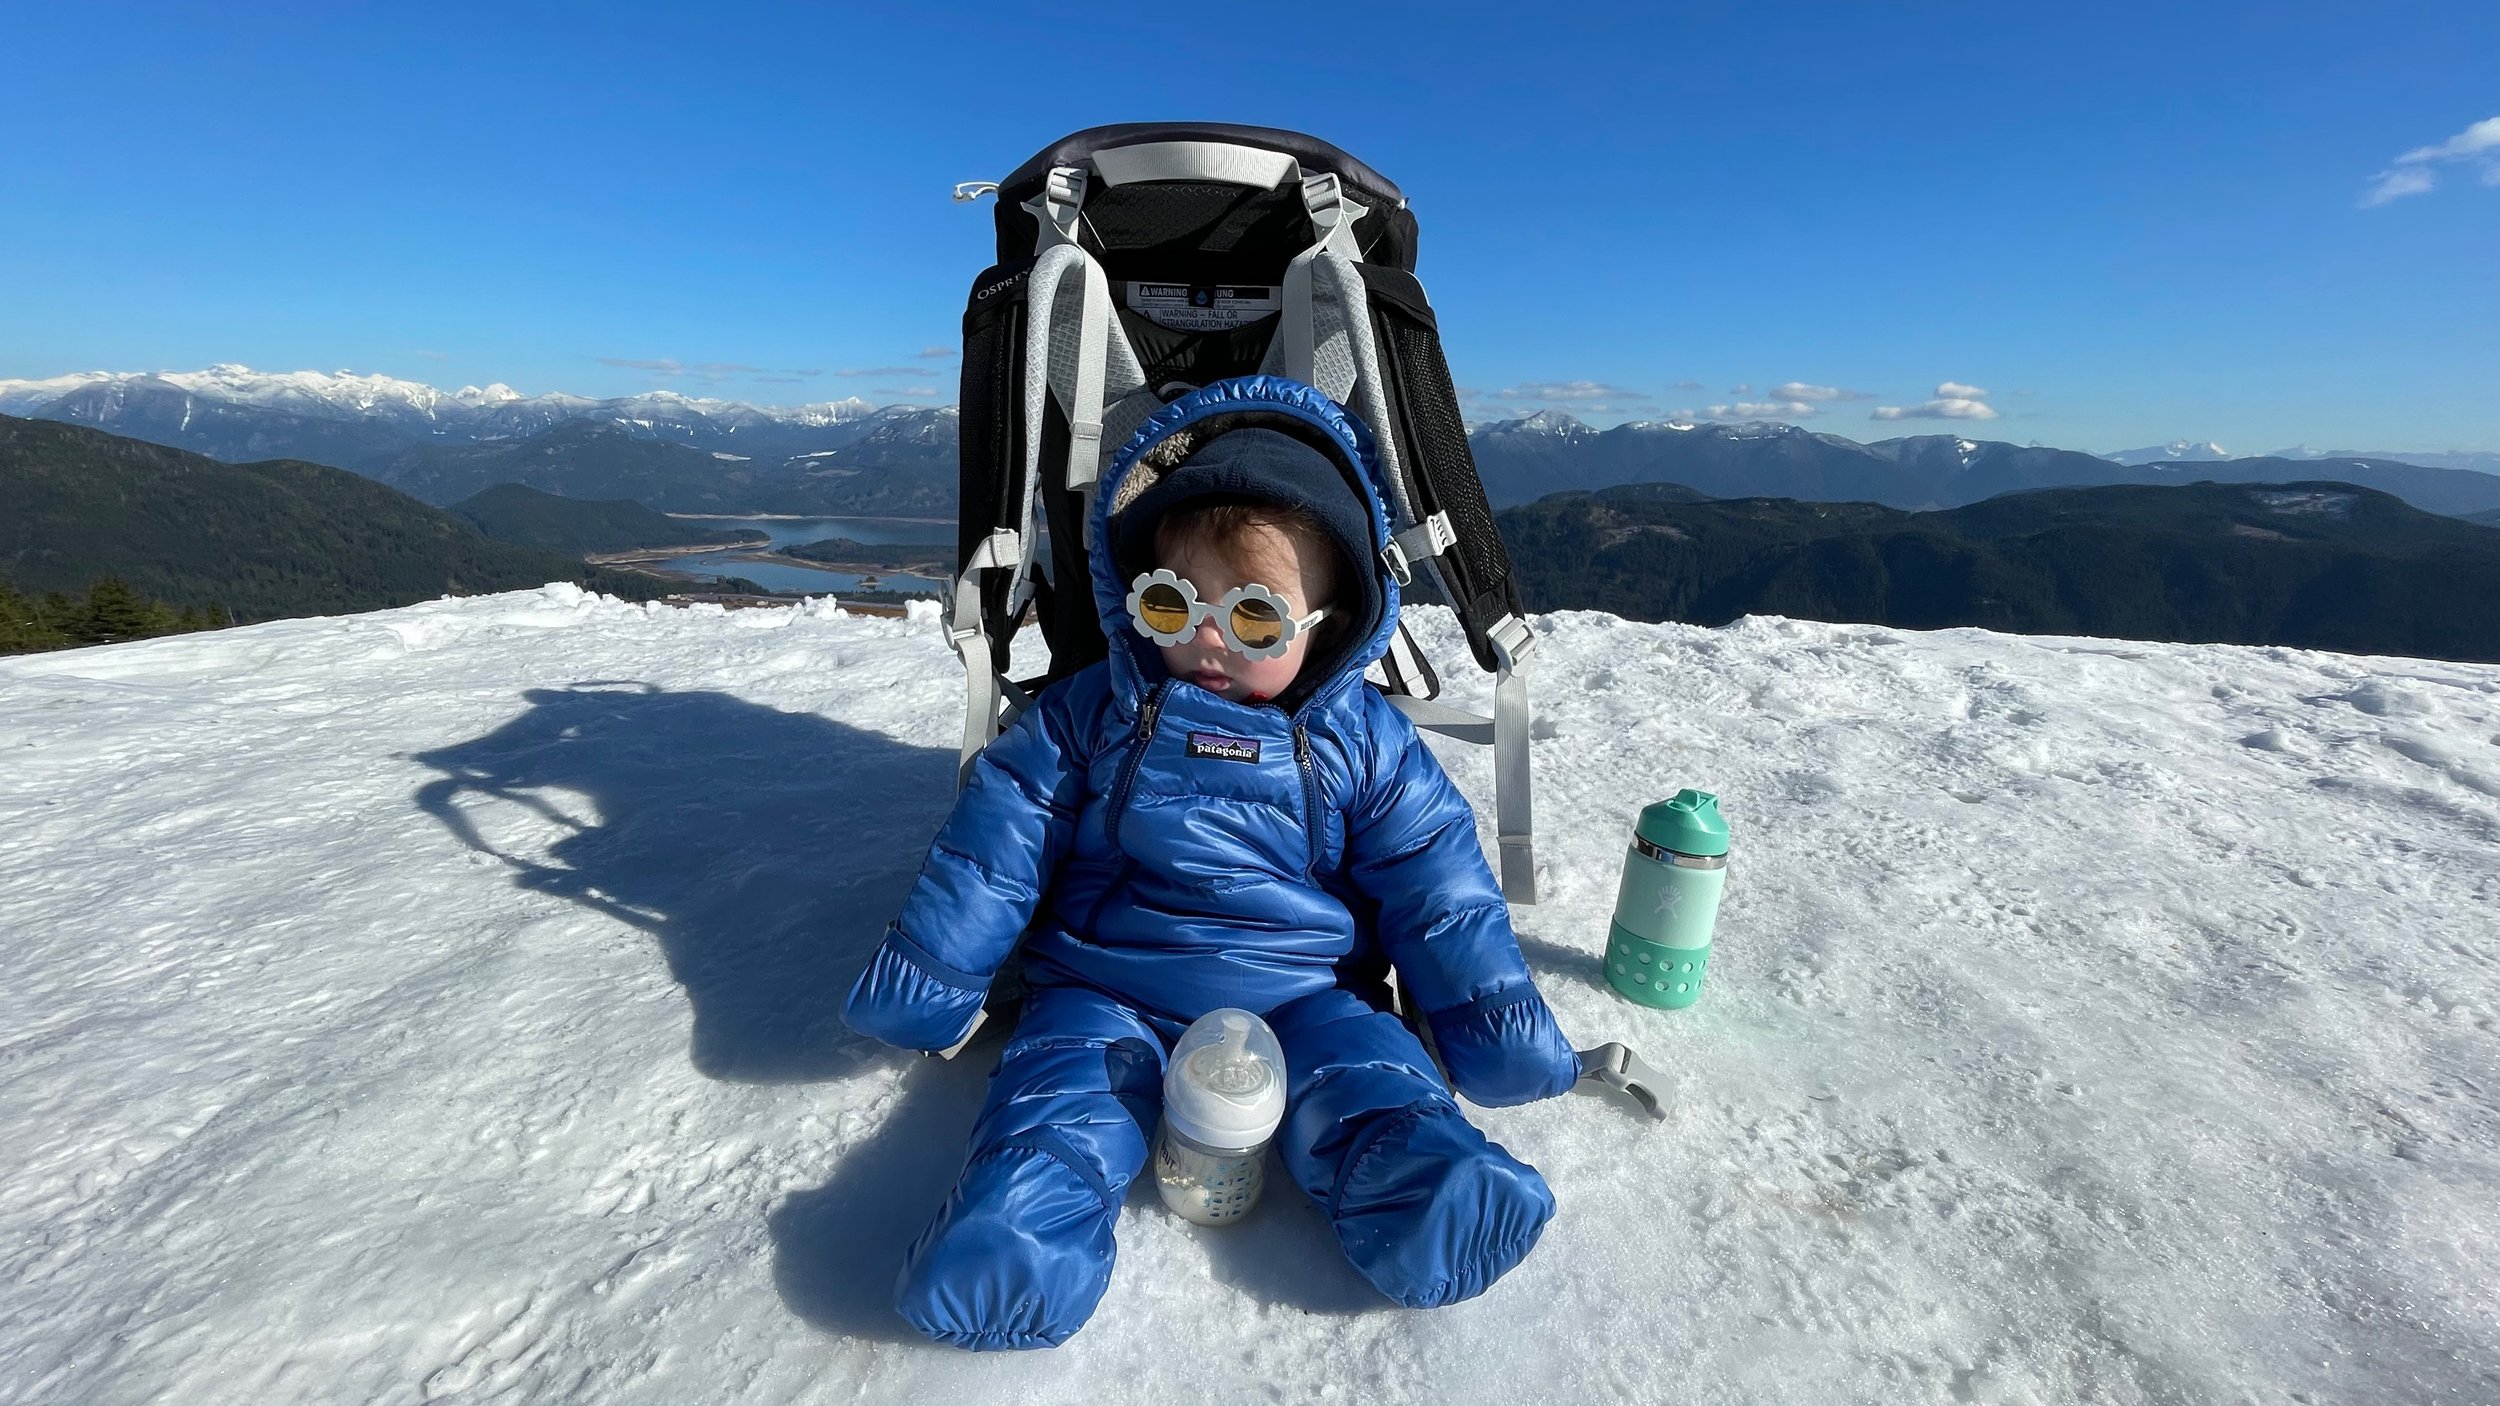
If you are using a backpack carrier your toddler will not absorb any of your body heat and they will not generate their own body heat in the same way you do while hiking. You should be dressing them quite a bit warmer than you dress yourself on the trail and consider wind layers or rain covers to block wind.


1. Base Layer: The Foundation of Warmth
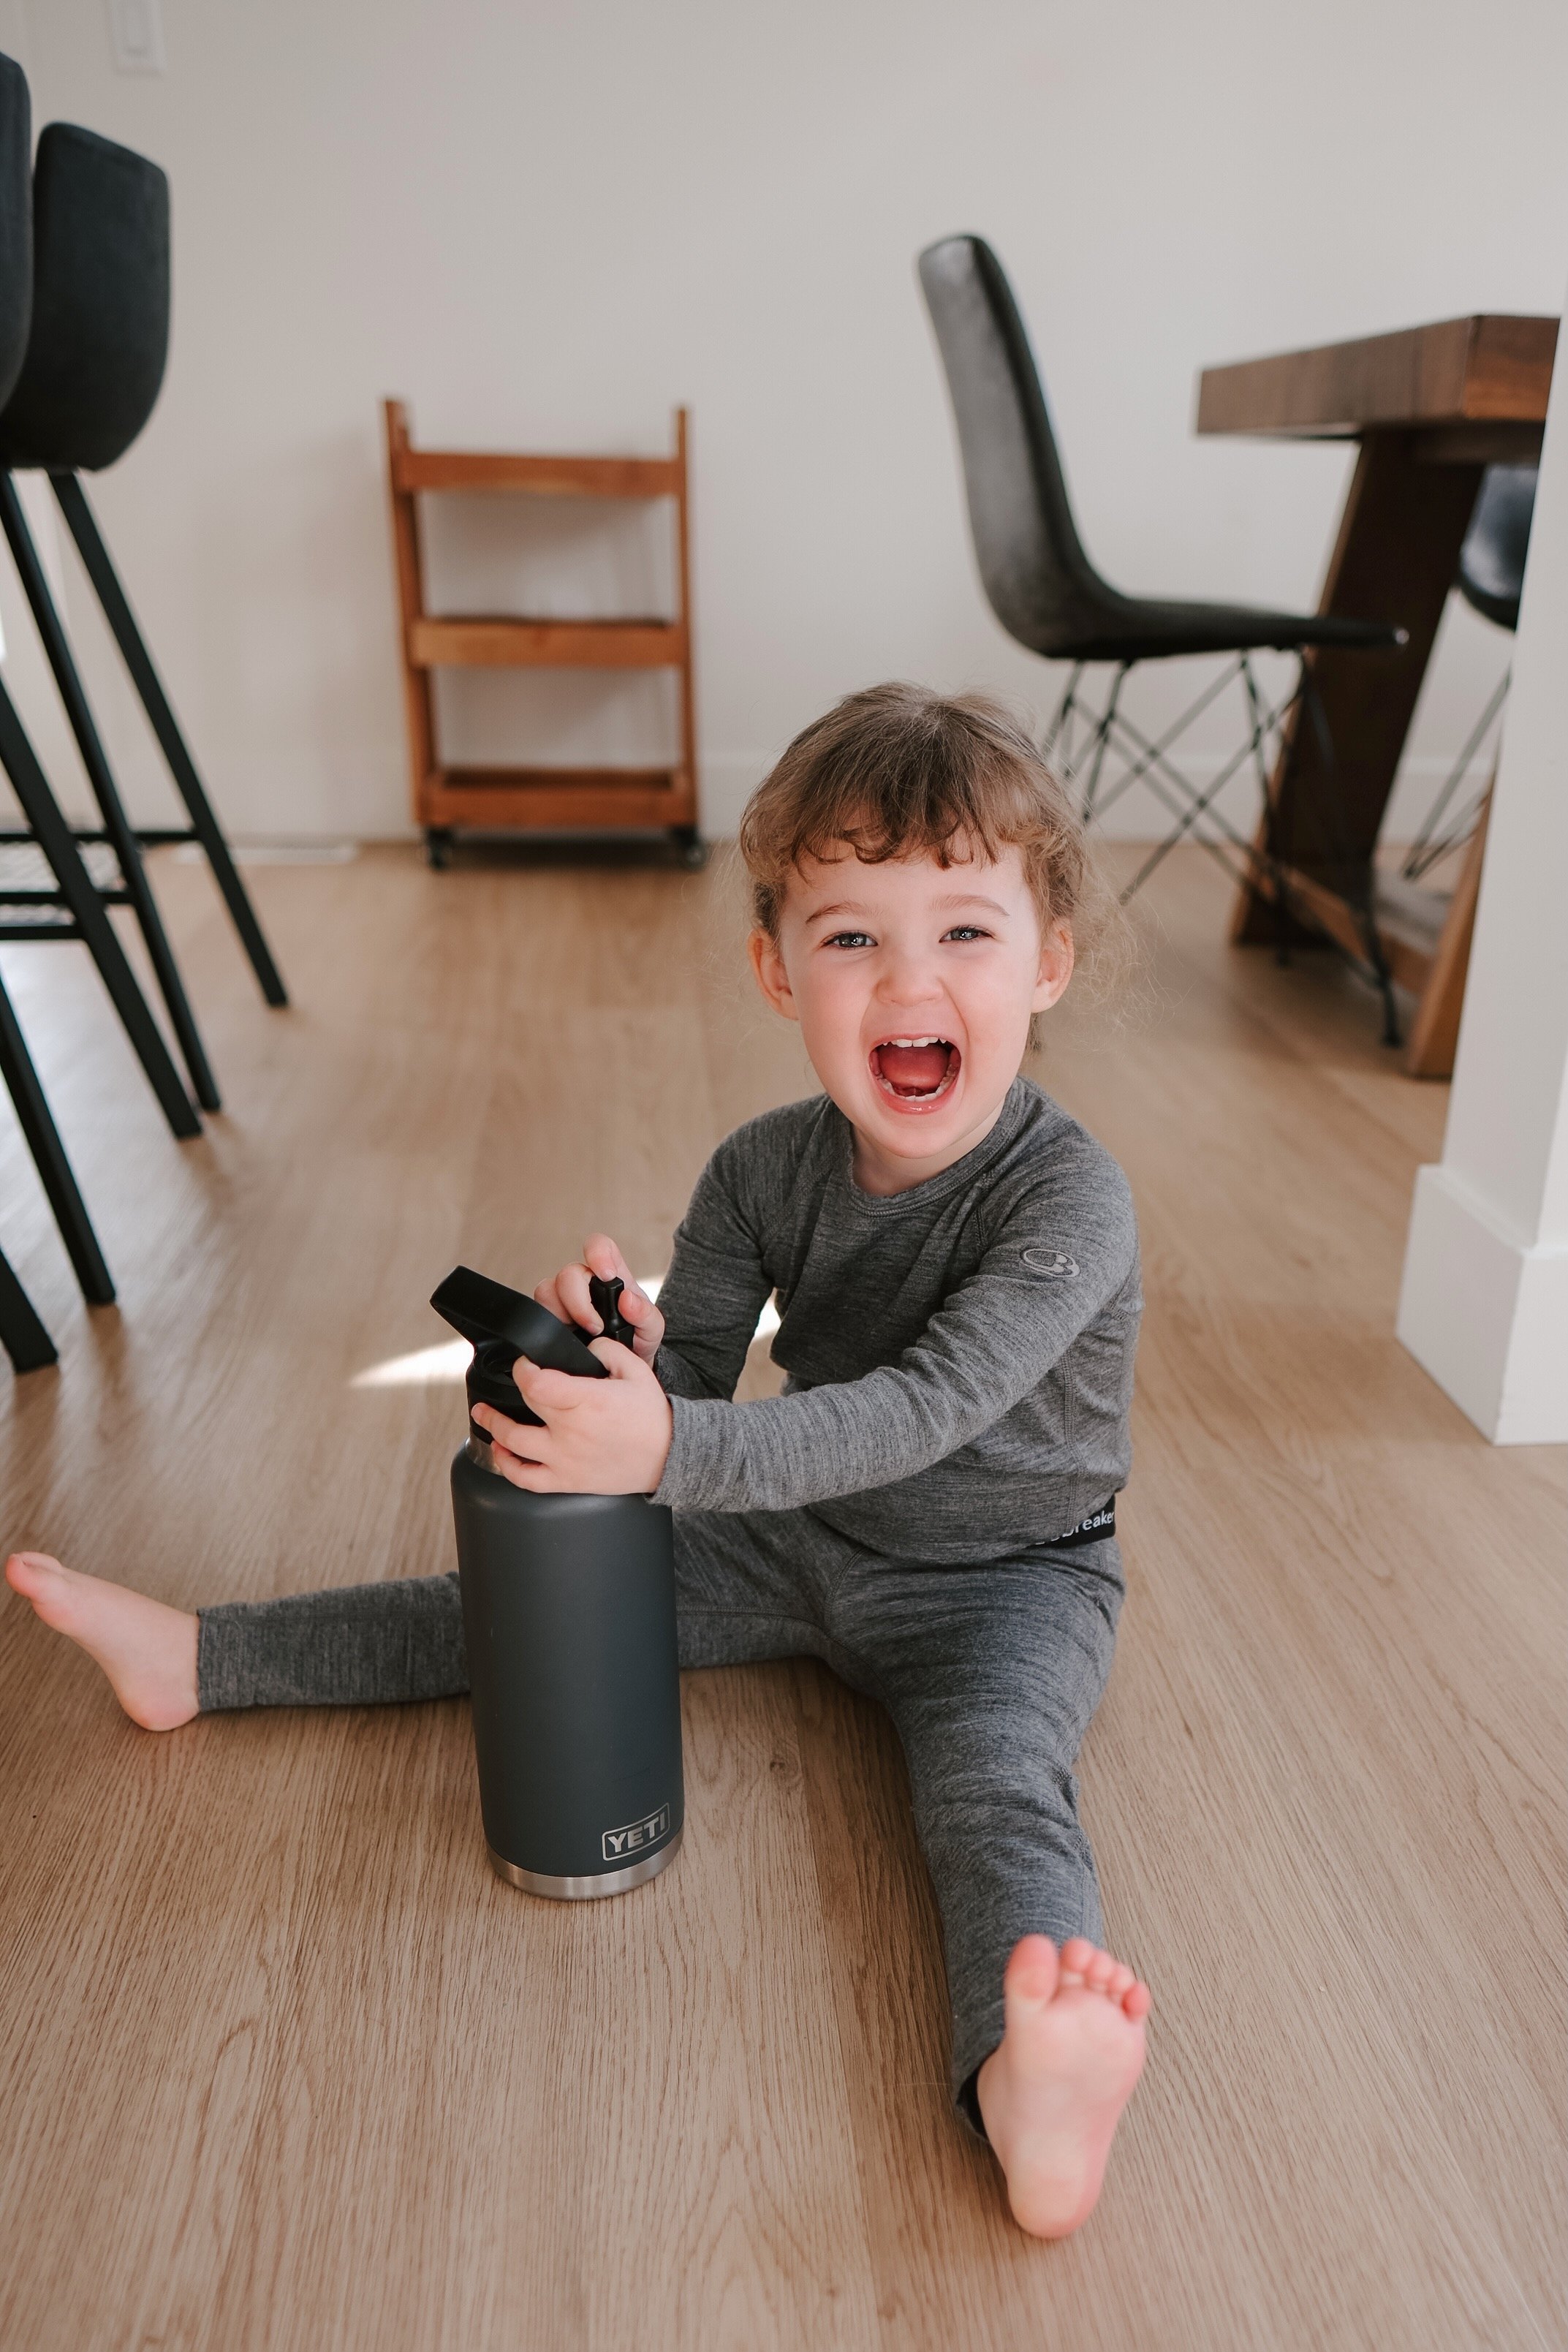
The base layer is the first line of defence against the cold. It should be snug, moisture-wicking, and made from materials like merino wool or synthetic fabrics. These materials help to keep the skin dry by wicking away sweat, which is crucial since dampness can quickly lead to chills.
In the summer we opt for lightweight bamboo fabrics or UPF swimsuits, especially for young babies who can’t wear sunscreen.
Winter Picks:
Summer Picks:
Socks:


2. Middle Layer: Insulation is Key
The middle layer’s job is to trap body heat. Fleece is a popular choice because it’s lightweight, breathable, and insulates well even when damp.
In the summer we often skip this layer, unless were expecting it to be especially cold in the alpine.
Tops:
Patagonia Baby Micro D® Snap-T® Fleece Jacket
Bottoms:
Onesie:


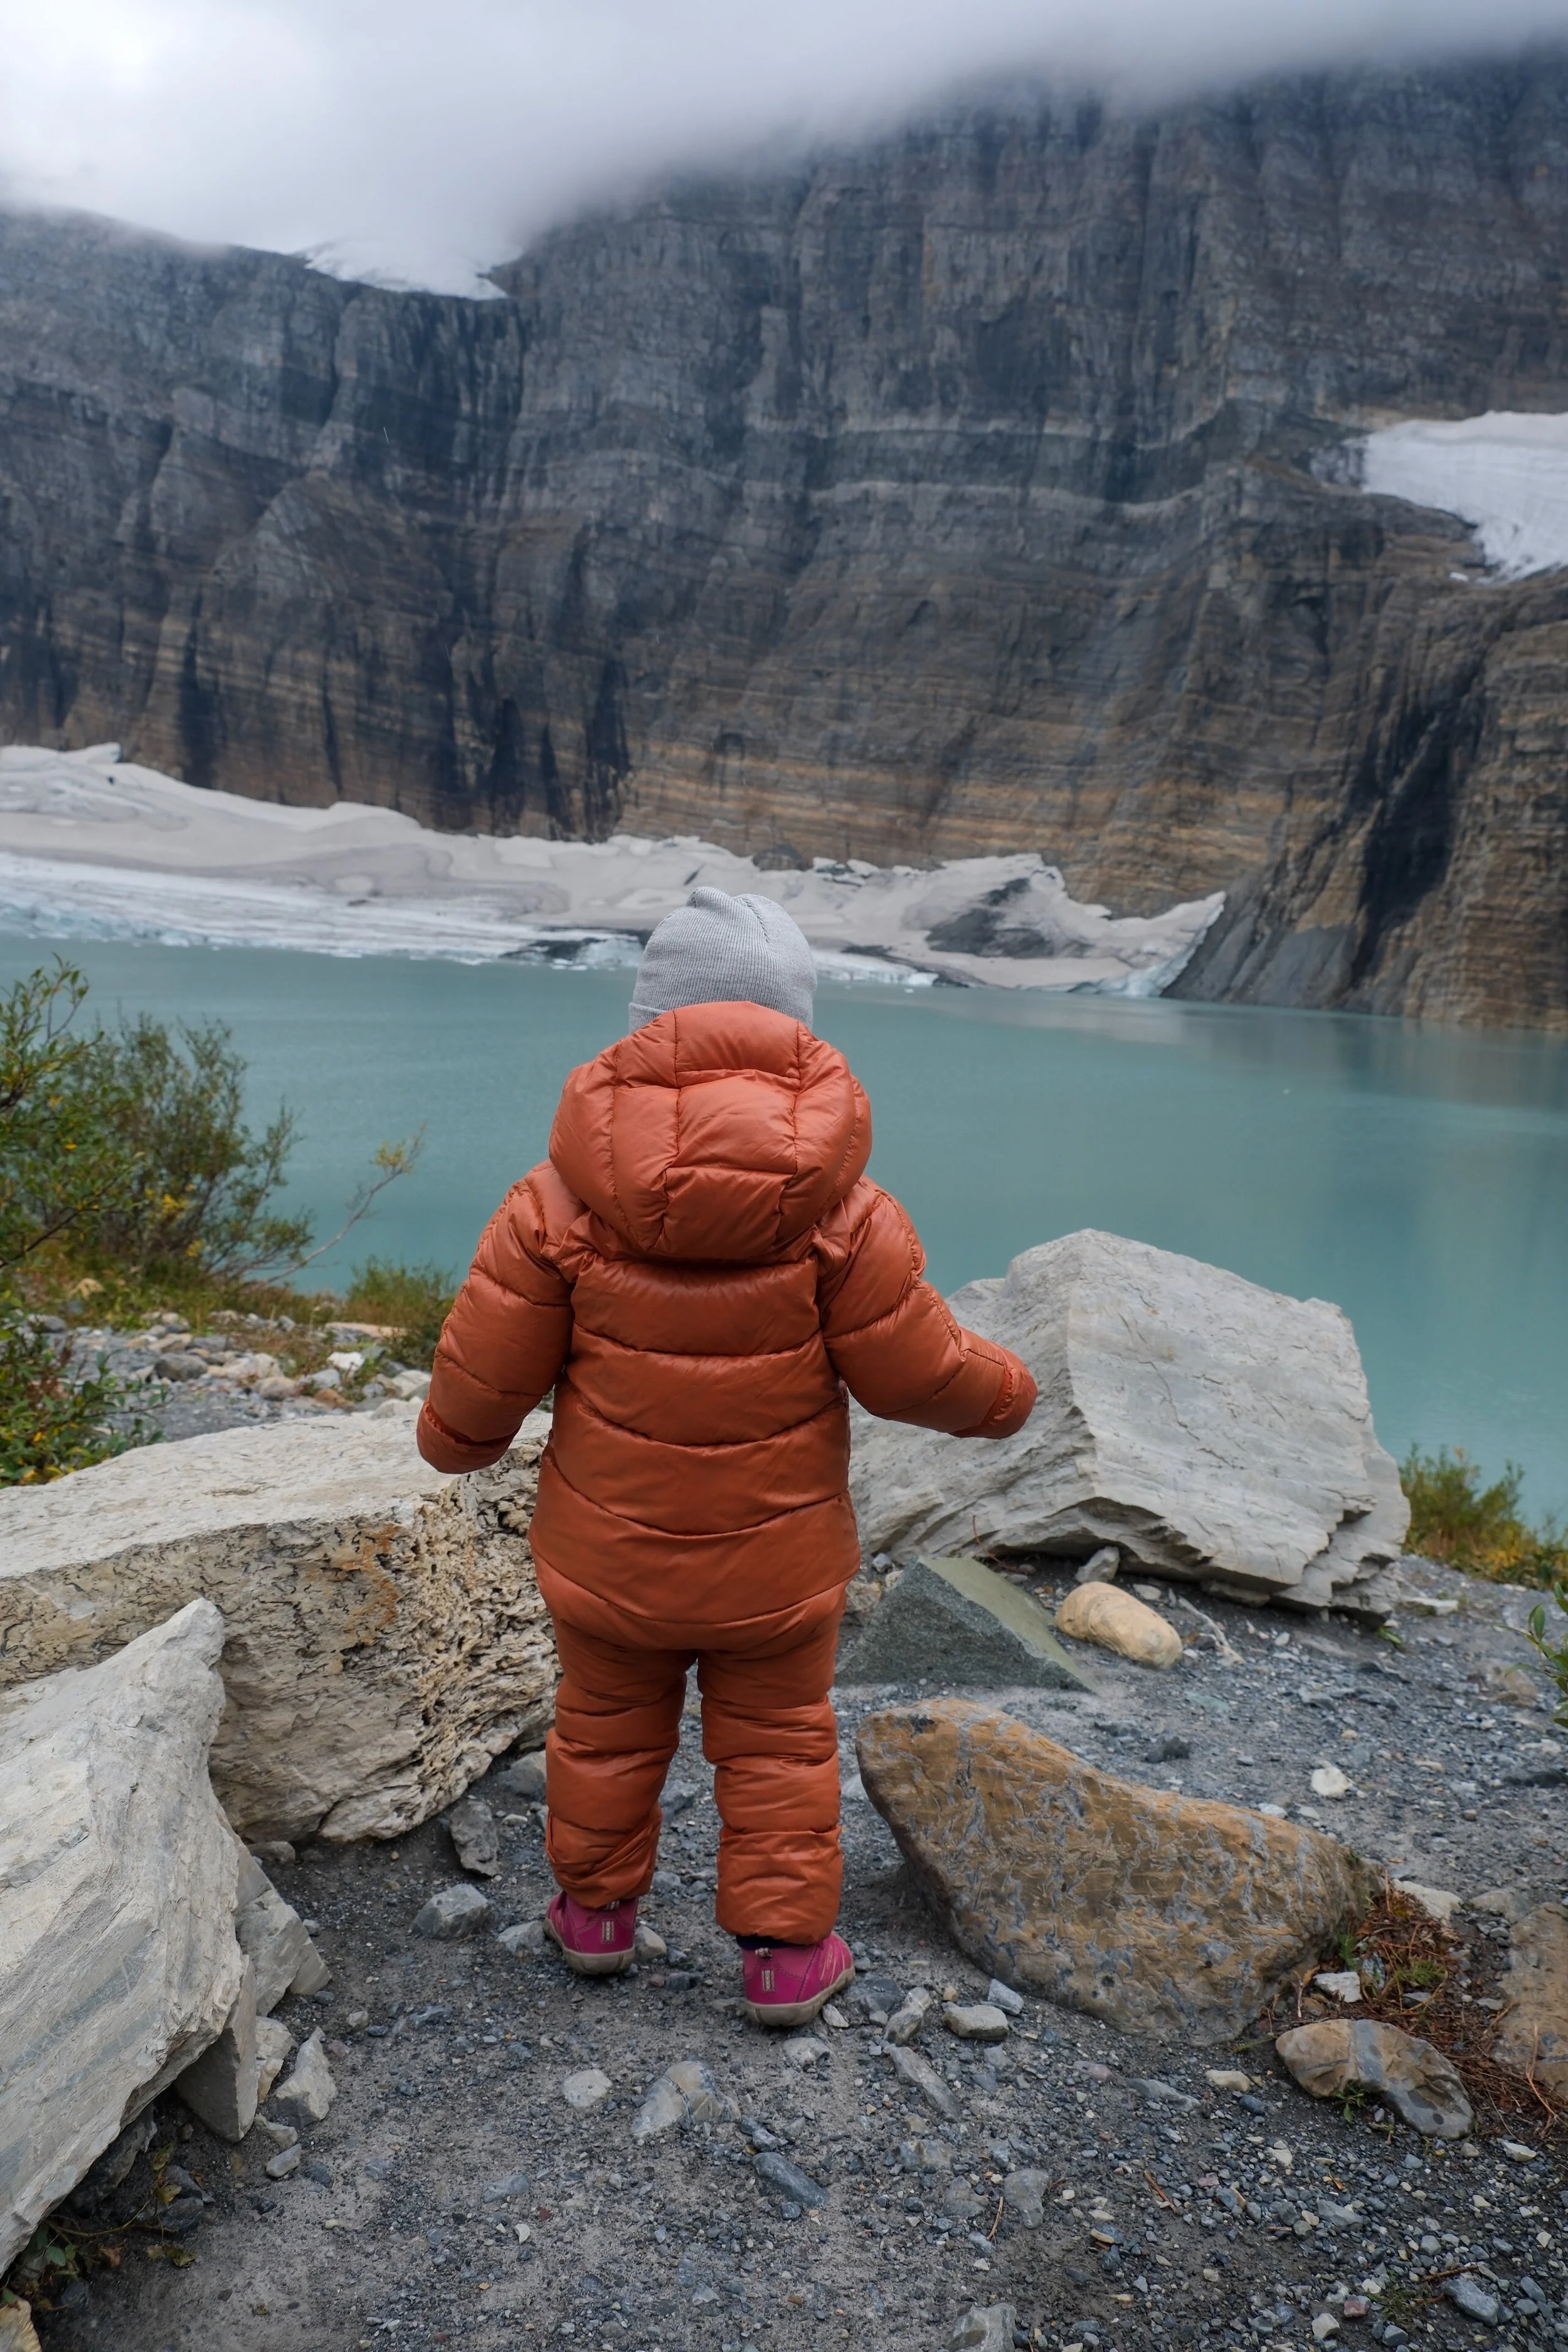
3. Outer Layer: Protection Against the Elements
The outer layer protects against wind, rain, and snow, acting as a barrier while still allowing moisture to escape.
Tops:
Onesie:
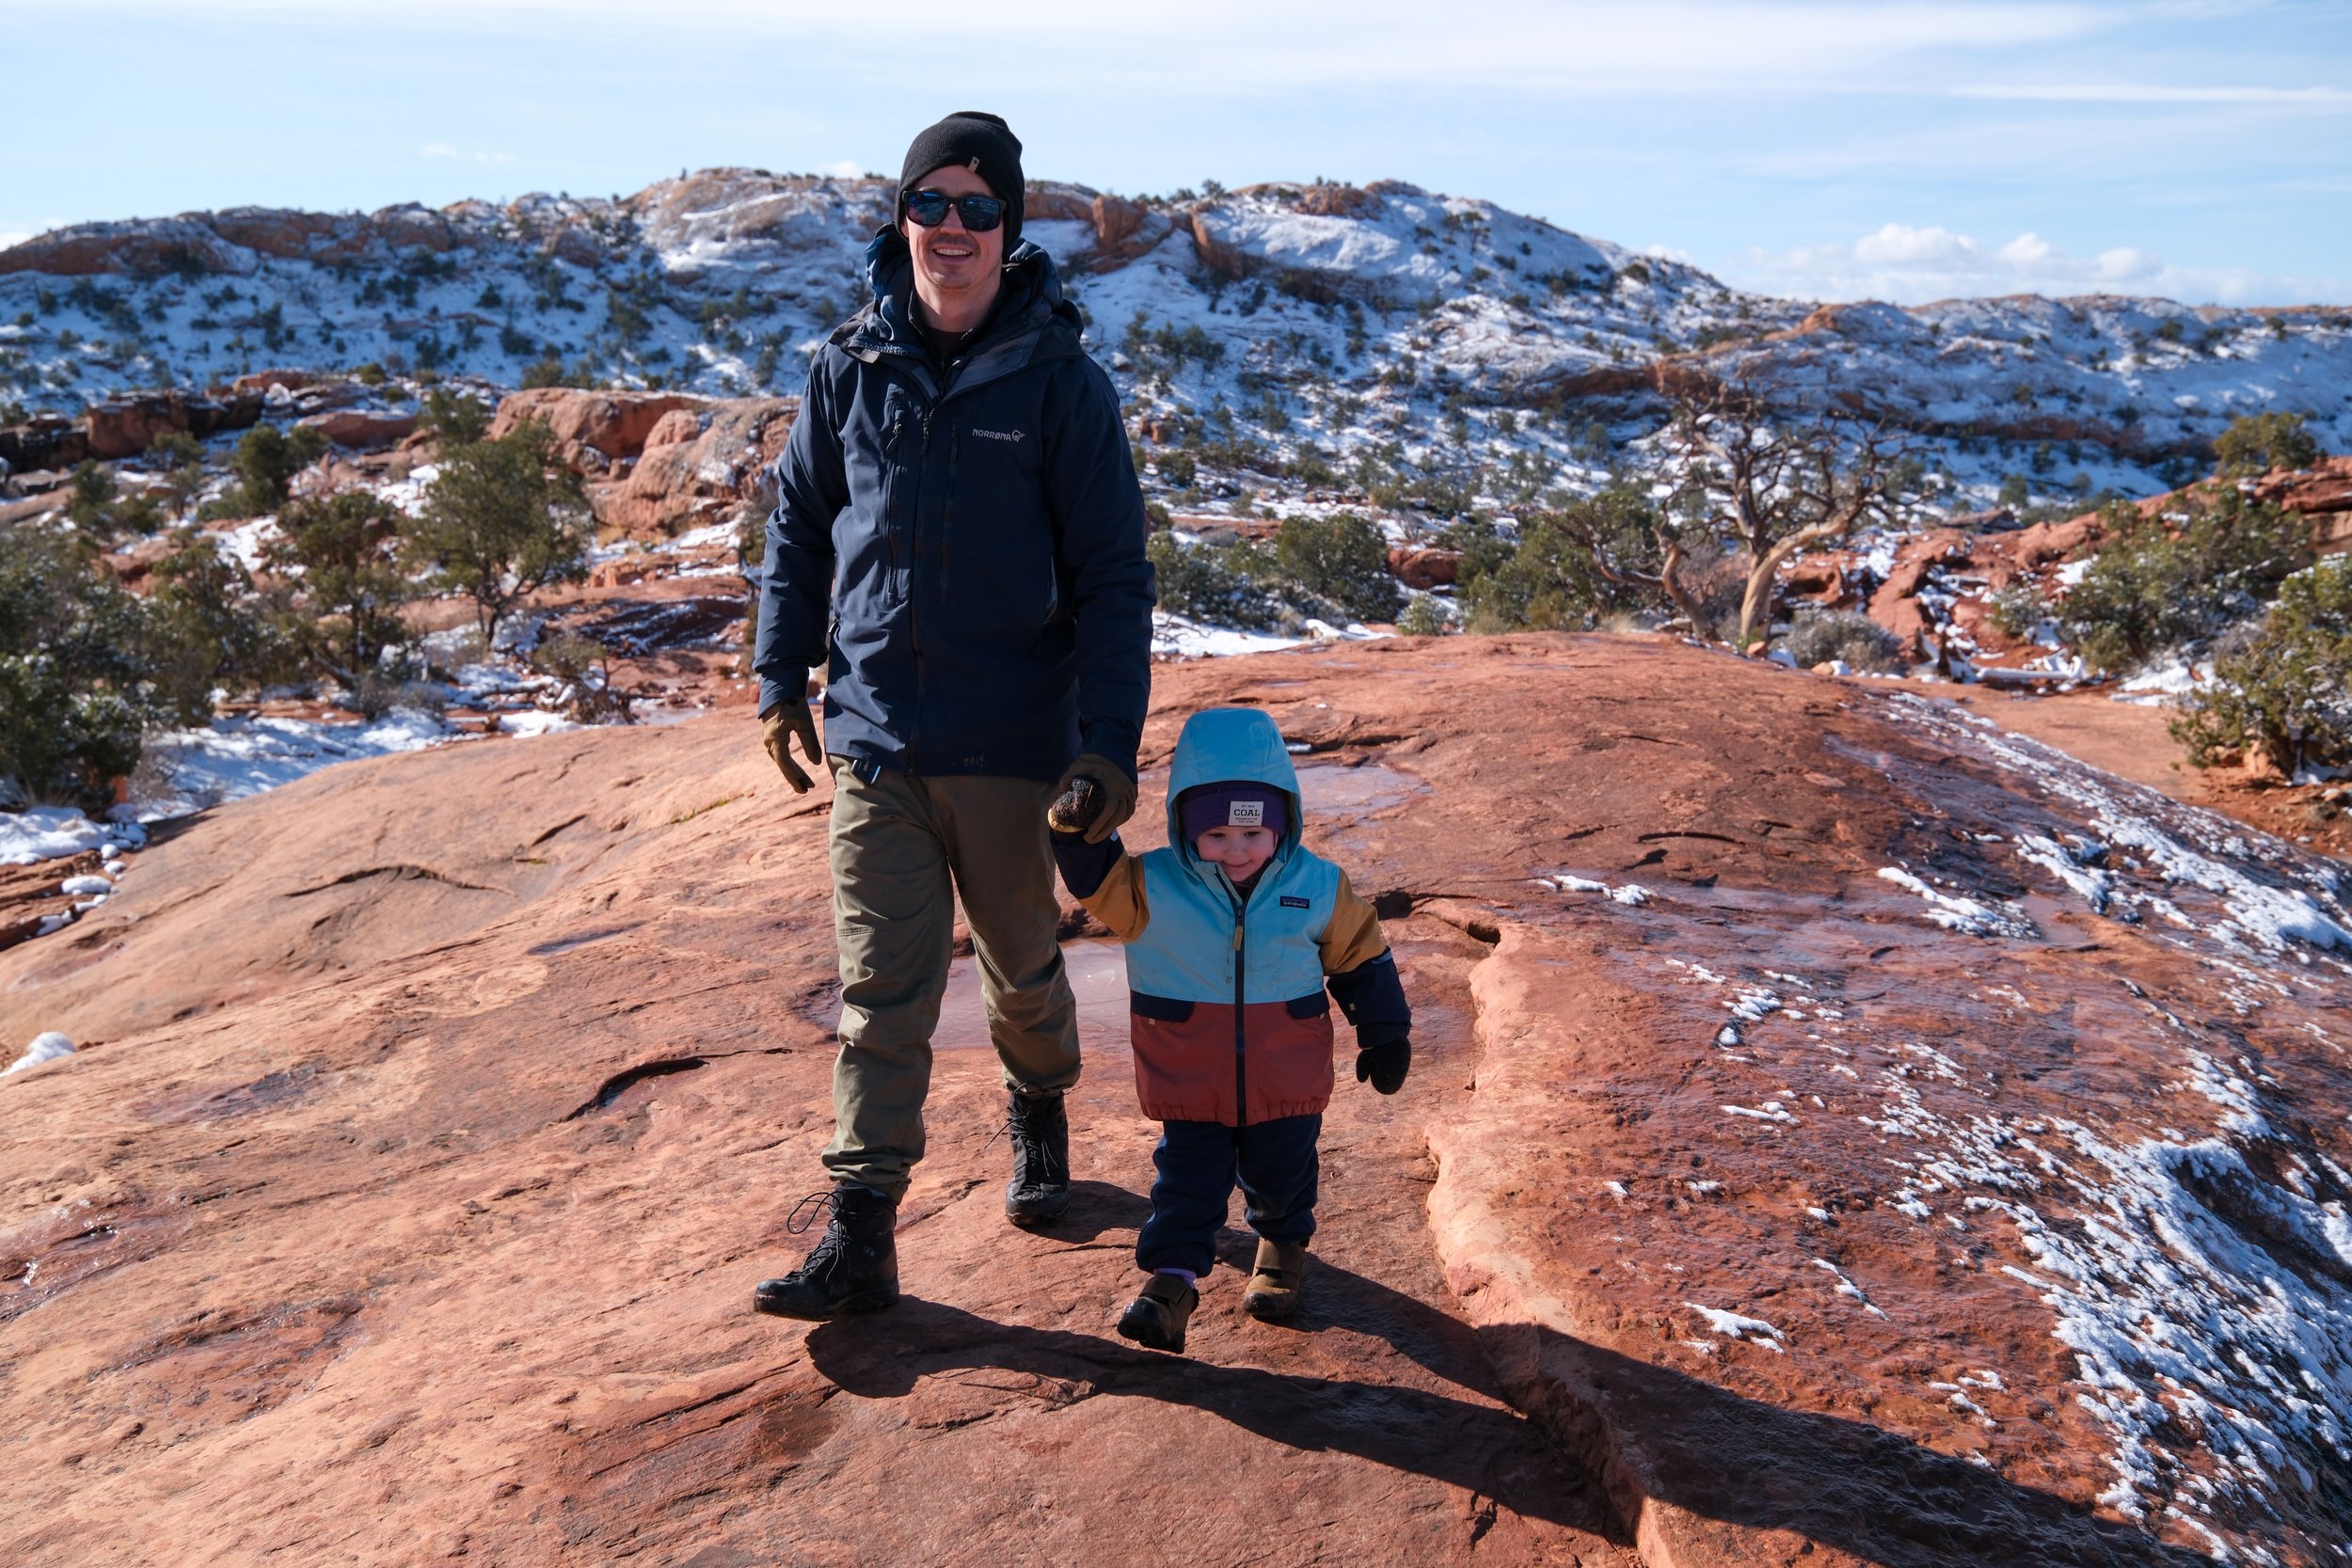
4. Extremities: Keep Those Tiny Fingers, Toes, and Ears Warm
Toddlers lose heat quickly through their extremities, so it's important to ensure they’re well protected.
Hat: A warm, snug-fitting hat that covers the ears. Fleece-lined or wool beanies are great options.
Mittens: Waterproof mittens with a fleece lining are essential. I often pack an extra pair in case the first gets wet.
Boots: Insulated, waterproof boots with good traction. Make sure they’re roomy enough to accommodate thick socks without being too tight, as cramped feet can get cold more easily.
Other Tips:
Layering Wisely: Start with more layers and remove them as necessary. It’s easier to take off a layer if your toddler gets too warm than to add one when they’re already cold.
Check Regularly: Toddlers might not always communicate when they’re cold, so it’s important to check their hands, feet, and face and back of neck periodically.
Hand Warmers: Without moving it’s easy for our hands and feet to get cold, even with gloves and boots, bring hand warmers to add to the cuffs of their snowsuit for colder days.
Spare Clothing: Always carry a set of spare clothing in your backpack in case they get wet. A dry toddler is a warm toddler.

By thoughtfully layering your toddler, you can ensure they stay warm, dry, and comfortable on your hikes. This way, you can focus on enjoying the beauty of the season and making wonderful memories together.
Happy hiking!
Disclaimer: This blog post may feature some affiliate links, which means I get a small commission if you make a purchase (at no extra cost to you). It’s one of the ways I can keep producing free guides and resources for my readers. Thank you for the support!